Preparing files for the Maslow with VCarve Pro
More actions
Setting up the maslow as a machine
Use these settings for the Maslow as a machine. You need to do this so that tools setup for your machine are saved for the maslow, and not the ooznest.
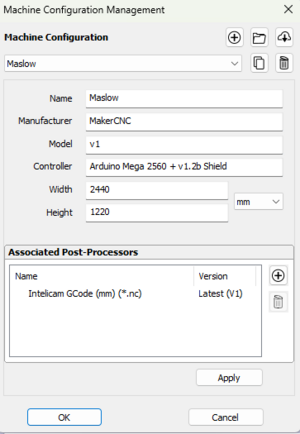
Make sure you use the post processor as shown above ^
Sheet setup
Use these settings on the left hand side to setup the work area. Choose your own sheet dimensions, sheet depth and material. We are using 9mm full sheet of MDF. There's no real reason not to use a full sheet. You must click OK before you can import.
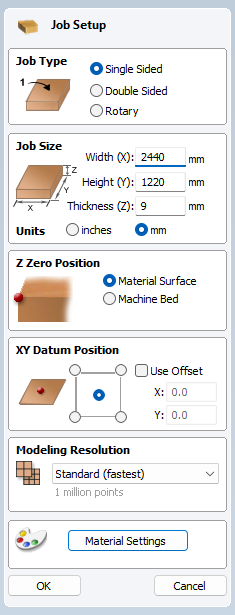
XY datum position should be in the middle as that is the XY datum for the maslow & Z should be aligned on the surface of the material.
Importing DWG/SVG etc
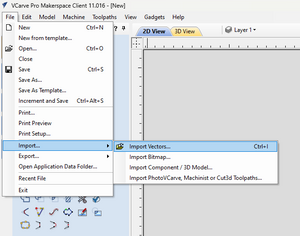
Click the import option. If it is greyed out, it is because you have not clicked OK for the sheet material section.
Occasional errors
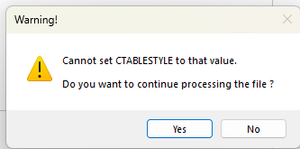
If you get this, ignore.
moving items
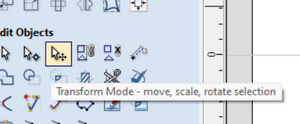
Use the transform items to centre your piece onto the material.
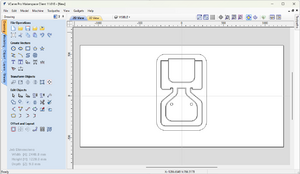
once imported, it'll look something like this, but with your design.
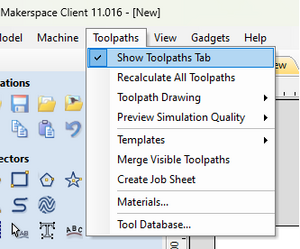
Show Toolpaths
Click "toolpaths" and select the "show toolpaths tab"
Setting the Z home value
This is very important.
Select the material settings using the below button "set" below
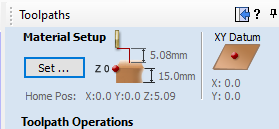
Change the default Z home value from 20 to 5.

Click "OK"
Selecting a simple cut profile
and select profile toolpath
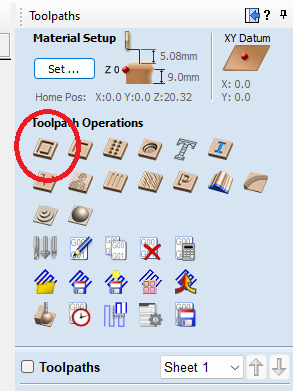
Creating a toolpath

Check the cut depth is the same as your sheet.
Select the correct end mill, then click "edit tool"
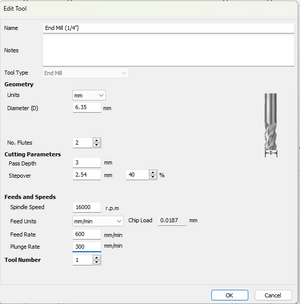
The maslow takes 1/4, 8mm and 6mm bits (select the corect collet to use though!)
The above is for a 1/4" bit with a 1/4" shank using the 1/4" collet!
In tems of the spindle speed, this is not settable, so ignore.
Feed units mm/min Feed rate 600mm/min Plune rate 300mm/min
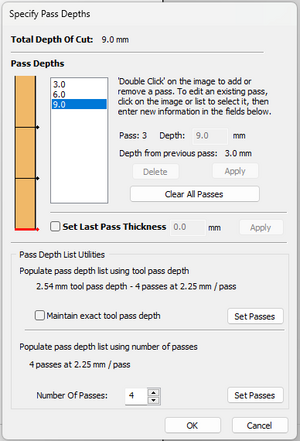
The pass depth should be half the cutting bit width. So for a 1/4" bit, which is 6.34mm, the cutting depth is 3mm (though it could be 3.17mm)
To cut through 9mm, you need to have 3 cutting passes of 3mm each. This may not cut all the way through and leave a paper thin layer. You may need a fourth or clean it up on the router table.
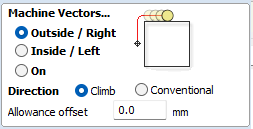
The above shows "Outside/right" "inside left" and "on"
Outside/right = cut on the outside of the line or to the right if it is a single line. Inside/left = cut "in" a line or to the left if it is a single line On = cut "on" the line - like a laser cutter.
If you were cutting out a shape, you'd most likely cut "outside" if you're cutting something out, like a hole for a button, you'd cut "inside".
You select the path it applies to by clicking with the mouse. If you click and only part of the path is selected, like below, it needs joining.
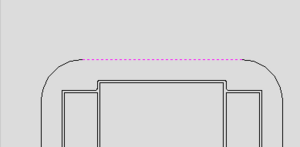
You may also get this message if you click the "calculate" button at the bottom of the toolpaths menu. This indicates you need to join paths.

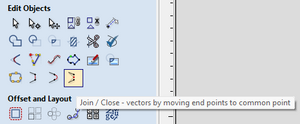
You do this using the Join function. Select one path, press shift, click the 2nd path and click the join button. If you make a mistake, you can undo.
Next "add tabs" by ticking the tabs box
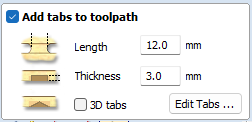
The defaults above are probably fine for the example, these just allow the piece to remain in place whilst you continue to cut, otherwise it may fall and hit the cutter and have a catastrophic failure.
Click "edit tabs"
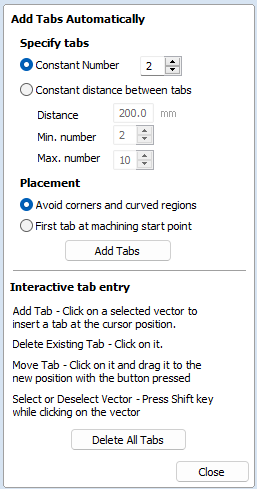
For large objects (such as this chair) 2 is probably too few. You can select "constant distance between tabs" or specific a specific number, and whether you want to avoid corners and curved regions.
Too many means you have more cleanup, not enough risks the object falling, so pick appropriately and err on more than less for your own safety. We will select 4 for this object and click "Add Tabs".
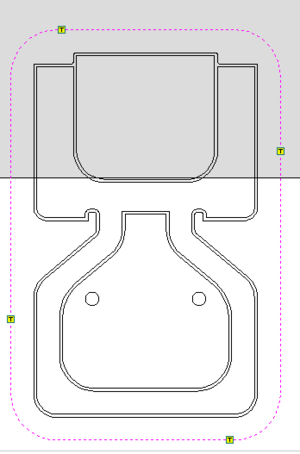
The yellow T's show where the tabs are. You can drag and drop them only when on the tabs menu.
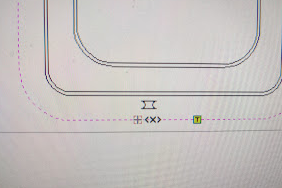
The above shows the cursor that appears when you hover over the tab.
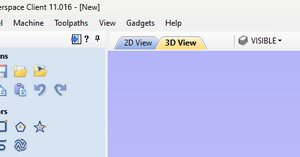
Once you have finished moving the tab you can press the "calculate" button back on the toolpath bar and the view will change to "3D" view. You can still pop back to "2D" view to add more paths (See tab position above) but you will see a screen like this:
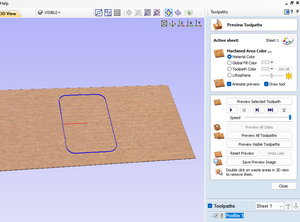
if you press the "play" button on the preview selected tool path, you'll be treated to an animation showing what the output will be, including showing the tabs placement.
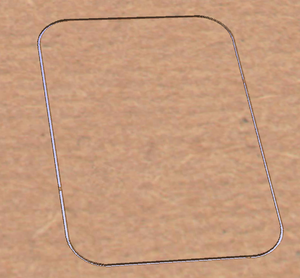
If you click close and select the "2D view" tab, you can continue to add all the relevant tool paths, ensuring you remember to select the right bits, right number of passes and place tabs. If you do not want to go all the way through a piece of wood, you do not need to have so many passes. The simulation will show that you only drill partially into the wood.
Export
You cannot generate g-code from the trial version of the software even with the makerspace code, you must use the computer with the full licence by the fridge in the computer lab.
Here are the steps to export.
Select the "save" icon at the bottom of the toolpath menu.

and you will get the export menu.
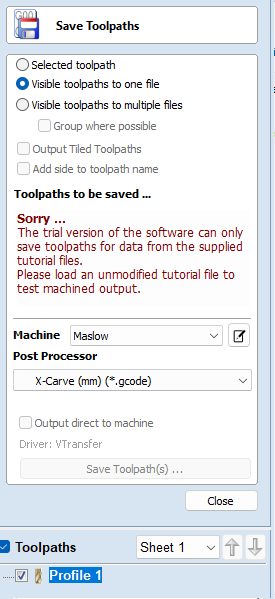
Select "visible toolpaths to one file"
Select the xcarve mm tool path (as the maslow is GRBL compatable) and click "save toolpath"
If you get the error above (in red) then you may need to use a hackspace computer. It should look like this:
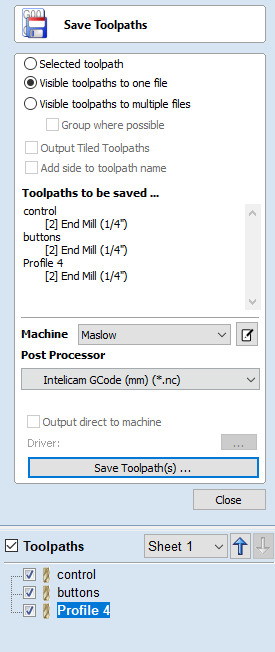
save toolpath to get the .nc toolpath for uploading to the maslow web interface.
There is much more to v-carve with settings for v-bits etc. Please take time to review the rest of the software tutorial videos which are free for Hackerspace users.
