Preparing files for the Maslow with VCarve Pro
More actions
Setting up the maslow as a machine
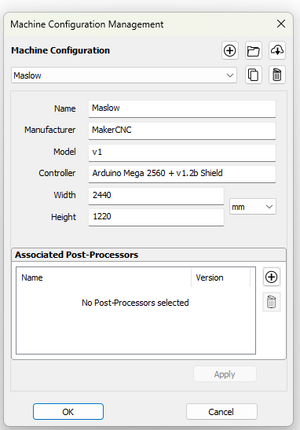
Use these settings for the Maslow as a machine. You need to do this so that tools setup for your machine are saved for the maslow, and not the ooznest.
Sheet setup
Use these settings on the left hand side to setup the work area. Choose your own sheet dimensions, sheet depth and material. We are using 9mm full sheet of MDF. There's no real reason not to use a full sheet. You must click OK before you can import.
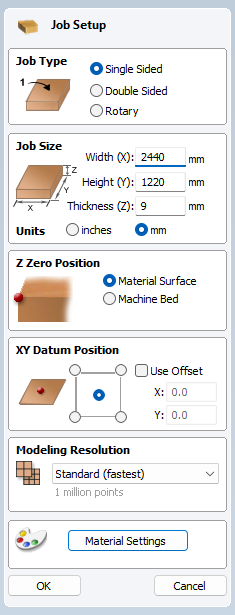
XY datum position should be in the middle as that is the XY datum for the maslow & Z should be aligned on the surface of the material.
Importing DWG/SVG etc
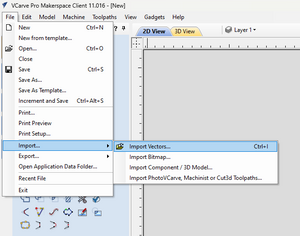
Click the import option. If it is greyed out, it is because you have not clicked OK for the sheet material section.
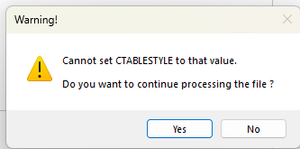
Occasional errors
If you get this, ignore.
moving items
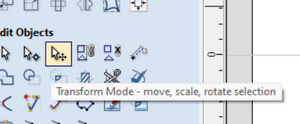
Use the transform items to centre your piece onto the material.
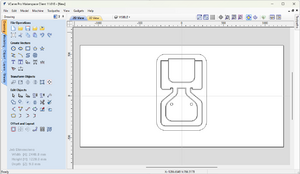
once imported, it'll look something like this, but with your design.
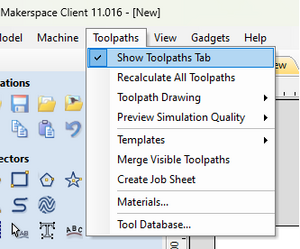
Show Toolpaths
Click "toolpaths" and select the "show toolpaths tab"
and select profile toolpath
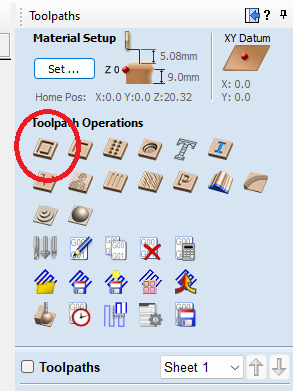
Creating a toolpath

Check the cut depth is the same as your sheet.
Select the correct end mill, then click "edit tool"
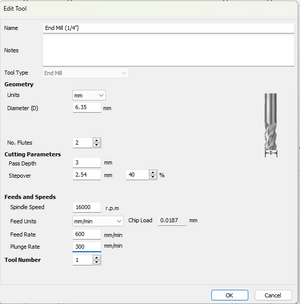
The maslow takes 1/4, 8mm and 6mm bits (select the corect collet to use though!)
The above is for a 1/4" bit with a 1/4" shank using the 1/4" collet!
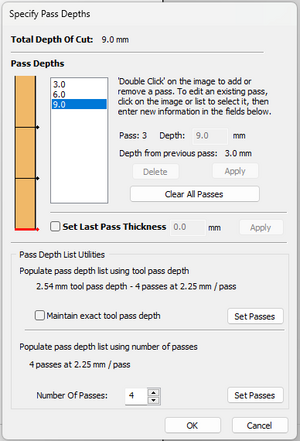
The pass depth should be half the cutting bit width. So for a 1/4" bit, which is 6.34mm, the cutting depth is 3mm (though it could be 3.17mm)
To cut through 9mm, you need to have 3 cutting passes of 3mm each. This may not cut all the way through and leave a paper thin layer. You may need a fourth or clean it up on the router table.
In tems of the spindle speed, this is not settable, so ignore.
Feed units mm/min Feed rate 600mm/min Plune rate 300mm/min
